Follow this blog with bloglovin

Follow on Bloglovin
Showing posts with label Liquid Pearls. Show all posts

Monday, January 12, 2015

All Abuzz


I've been playing with the Vintage Bee 
Calm collage sheet from My Artistic Adventures all week. I made a simple card by layering a tea colored doily over kraft card stock, then added two images from the Collage sheet along with some black paper. I added Liquid Pearl drops around the edge of the tag shape and called it done! Not every card has to have half a dozen techniques or layers. 
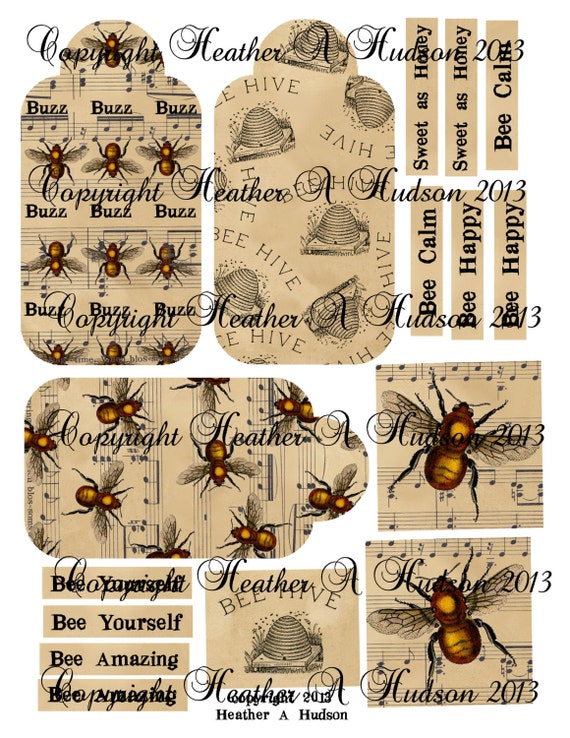
Vintage Bumble Bee Calm Digital Collage sheet

I was buzzing along having so much fun in my scrap room that I also made a tag...

See the cute bumblebee button? I've been saving this bee ribbon I found at Michael's and it was perfect for these collage sheet projects!

...and then I decorated an envelope to go with the card I made a few days ago. I didn't have enough of the yellow striped paper to line the inside of the envelope, so I wasn't quite sure how I was going to make it coordinate with the card. Then it came to me - what if I ran the envelope flap through the Cuttlebug and embossed it with the honeycomb design? 


I used my oval scallop punch on what little bit of yellow striped paper I had remaining, used a small round punch on a bee image, and voila! Now the envelope flap has the same honeycomb texture as the card.


I usually don't decorate the envelope other than 
to stamp a coordinating image onto the front upper or lower corner. This adds a bit of panache and also helps me to remember what the card's theme/design is when I have them stored and waiting to be mailed out for the right occasion. 


I had so much fun decorating the flap for this
 Bee Happy card that I think I'm going to 
emboss others!


sharing this post with:

Monday, January 14, 2013

The Twelve Tags Of 2013- January


If you need any inspiration for stamping and card making look no further than Tim Holtz's blog. I took a peek at his 12 Tags of January today and ended up making a tag because I just couldn't stop myself, even though I had planned to make something completely different when I walked into my scrap room! Click on the link above for Tims' complete photo tutorial. I also took a few pictures, as I worked, to share with you. I started with a blank tag (2.6 x 5.25), Ranger Distress Ink, and my Cuttlebug Clockworks folder (5 x 7).


Next, I sprinkled water drops on my inked tag


 and dried it with my Ranger Heat It Tool

 
 Then I cut a clock die cut into two pieces; I painted one segment with gold metallic paint and embossed the other piece with Tim Holtz Spiced Marmalade Distress Powder. I glued them to the tag and trimmed off the overhang. I adhered a piece of Film Strip Ribbon to the left side with Glossy Accents.


I cut a smaller tag from off-white card stock and stamped a sentiment on it, then inked the edges of it. 
 

Here is the completed tag. I used a grunge board number '3' which I misted with Perfect Pearls Biscotti Mist, then finished with a light coat of Platinum Liquid Pearls. The three represents my family. I stamped the bias tape ribbon with a calendar and the word 'January'. There are metal sprockets attached with brads and a game spinner inside the bottle cap. I am going to share this with Tim's blog. It is really fun to see the variety of January tags people have made after seeing Tim's version!


I did not have the grunge board gears Tim used on his tag, so I substituted the die cut clock.


I had so much fun I can't wait to see what inspiration Tim has in store for February~


sharing this post with;

Friday, April 1, 2011

Tried Liquid Pearls?

I had not used Liquid Pearls until I made my submission for the Bella Creations April Technique Challenge. Our sponsor, Flying Unicorn, is offering a wonderful RAK for this challenge. I used the gorgeous G45 papers and lavendar Liquid Pearls from the Flying Unicorn Store to make a Springtime card~
I started with a Prima Build A Swirl stamp and Inkssentials Watermark Ink to stamp the umbrella. Next, I followed the stamped image and placed pearl drops along the design. I layered and punched Graphic45 Baby To Bride and Flights Of Fancy, and finished it off with flowers and brads. The final touch was a K and Co bee~ The trick to using the Liquid Pearls is to draw an imaginary circle as you stop squeezing and pull away from the surface, otherwise you may get a Hershey Kiss shape instead of a plump pearl.
Here is a tutorial to get you started.(I placed my pearls directly on the umbrella, but you can use a sheet of acetate too). http://www.swirlydoos.com/page.php?35
 You could win these goodies from Flying Unicorn!!