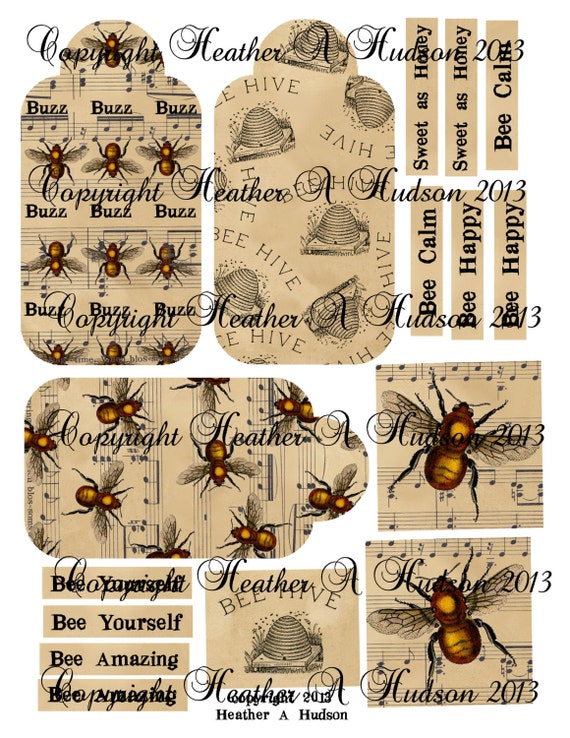
I've been playing with the Vintage Bee
Calm collage sheet from My Artistic Adventures all week. I made a simple card by layering a tea colored doily over kraft card stock, then added two images from the Collage sheet along with some black paper. I added Liquid Pearl drops around the edge of the tag shape and called it done! Not every card has to have half a dozen techniques or layers.

I was buzzing along having so much fun in my scrap room that I also made a tag...
 |
| See the cute bumblebee button? I've been saving this bee ribbon I found at Michael's and it was perfect for these collage sheet projects! |
...and then I decorated an envelope to go with the card I made a few days ago. I didn't have enough of the yellow striped paper to line the inside of the envelope, so I wasn't quite sure how I was going to make it coordinate with the card. Then it came to me - what if I ran the envelope flap through the Cuttlebug and embossed it with the honeycomb design?
I used my oval scallop punch on what little bit of yellow striped paper I had remaining, used a small round punch on a bee image, and voila! Now the envelope flap has the same honeycomb texture as the card.
I usually don't decorate the envelope other than
to stamp a coordinating image onto the front upper or lower corner. This adds a bit of panache and also helps me to remember what the card's theme/design is when I have them stored and waiting to be mailed out for the right occasion.

I had so much fun decorating the flap for this
Bee Happy card that I think I'm going to
emboss others!
Bee Happy card that I think I'm going to
emboss others!
sharing this post with:


